OK, so I got back from training and installed the CleanComp and it looks and works great. This is the PCB up close:

- IMG20250708142122.jpg (237.38 KiB) Viewed 778 times
The first job was to identify which IC was the TIA:

- IMG20250708141809.jpg (371.22 KiB) Viewed 778 times
Because the PCB fits on the bottom of the TIA and takes signals directly from it, bypassing all the other video and audio circuitry and feeding directly out to a composite/SVideo cable, you need to orient the CleanComp correctly on the bottom of the PCB/TIA..
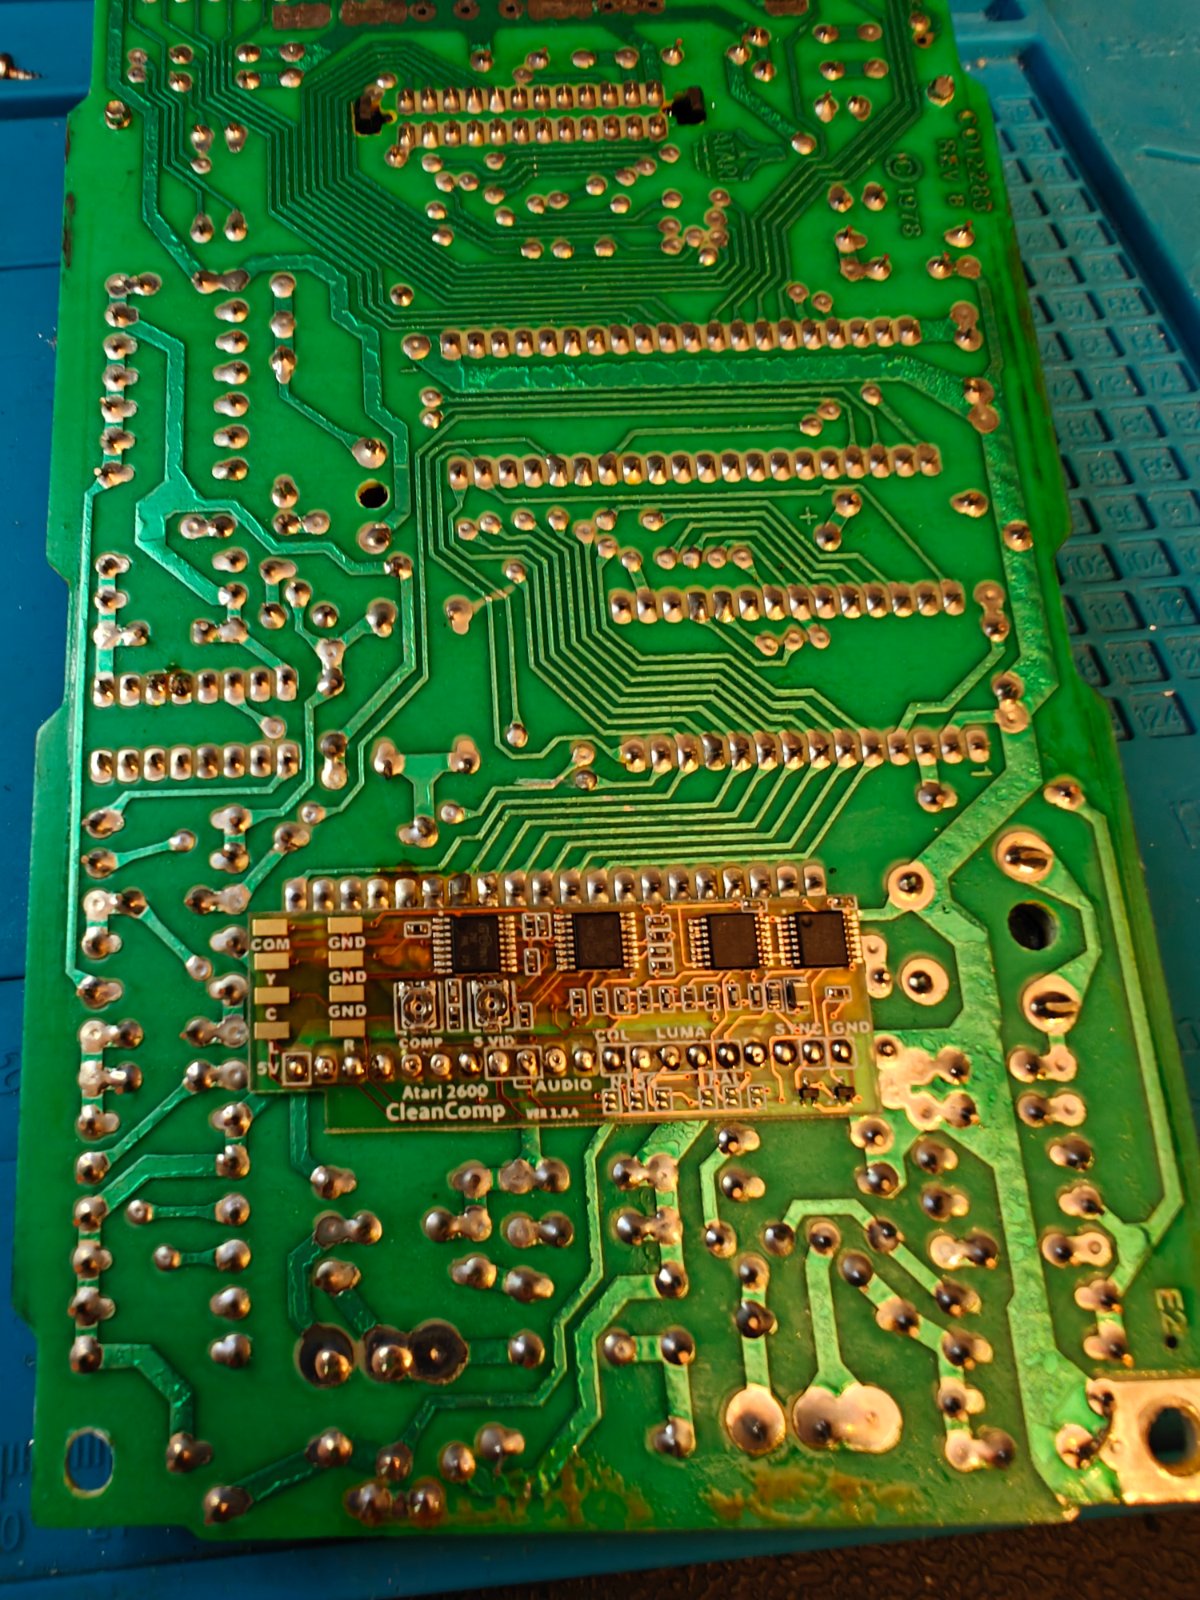
Once identified, it's a simple case of flipping the board over and soldering on. I did put some Kapton tape between the CleanComp and the mainboard for insulation, just in case:
- IMG20250708211001.jpg (398.83 KiB) Viewed 778 times
The orientation is such that the GND pin on the TIA, which is pin 1 and marked as such on the 2600 PCB, will poke through the GND hole on the CleanComp, and similarly the 5v, pin 20 on the TIA, will poke through the 5v hole on the CleanComp. All the pins on the left hand side of the TIA should poke through the CleanComp PCB.
You can then just solder directly through the holes onto the pins and the board is secured. You only have to solder the holes that have a square box round them, but I decided to solder them all.
At this point it's also the time to add the 3 blobs of solder on the PAL jumpers. The CleanComp also works with NTSC by jumping the 3 pads for that, but clearly only one or the other can be set at a time.
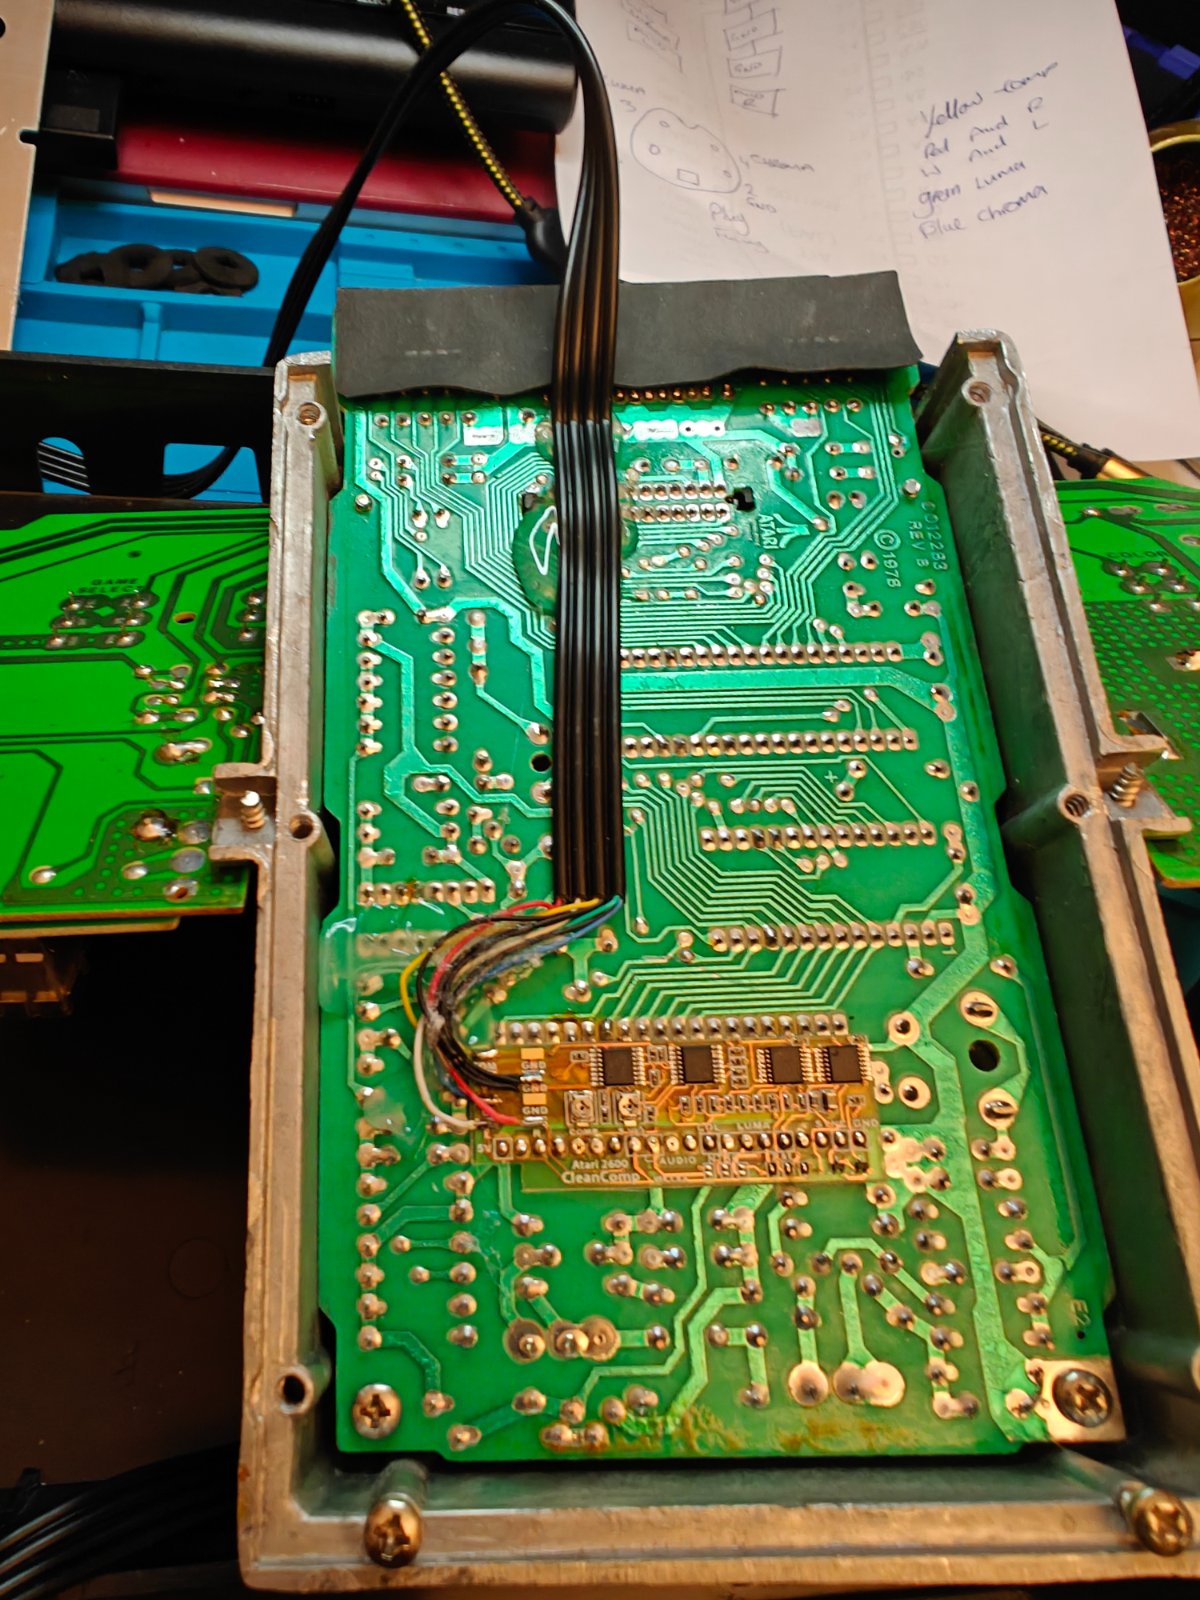
Then you can wire up the cable, and feed it up to the back of the assembly. Note - you MUST feed the cable through the case before soldering in position because the hole isn't large enough for the plugs to go through:
- IMG20250708214526.jpg (355.08 KiB) Viewed 778 times
I did hot glue the cable down so it didn't move when I fed it out of a convenient slot at the back when reassembling the bottom plate:

- IMG20250708214405.jpg (241.16 KiB) Viewed 778 times
And now you have composite and SVideo out :)

- IMG20250708214549.jpg (224.88 KiB) Viewed 778 times
When reassembling, the new video cable is quite long, so I kept about about a foot outside the case and hid the rest inside the case:

- IMG20250708215053.jpg (242.83 KiB) Viewed 778 times
And since the mod doesn't remove any parts at all, for which I commend it, I also put the UHF lead inside in case a future owner might want to revive the UHF circuit.
During reassembly I did also add 6 new foam pads for the switches:

- IMG20250708214901.jpg (211.9 KiB) Viewed 778 times
As you can see, the old ones at the bottom were disintegrating.
Video quality is very nice:

- IMG20250708221854.jpg (267.48 KiB) Viewed 778 times

- IMG20250708221639.jpg (173.44 KiB) Viewed 778 times
I did find the colours a bit vivid, but adjusting the colour profile on my display seemed to resolve that, though there are two tiny pots on the CleanComp that do allow for adjustment.
Which brings us to the question of: "Did it fix my Berzerk issue of the screen going blank when digitised speech is played?'
If I use straight composite into a display, it works 100% like my other composite modded 2600 Jr's. The SVideo quality is even better than composite too. But If I try to use my Retrotink, I have the same issue, the screen goes blank when playing digitised speech.
I am aware of RetroTink issues that can cause this, but that's fine, I can now play Berzerk Enhanced on my original light sixer using composite and have all the digitised speech :)
Overall a nice simple reversible mod, and one I'd recommend.