Page 1 of 2
AdSpeed Capacitor ID Help Request
Posted: 14 Aug 2025 08:09
by officer960
I damaged one of my AdSpeed accelerators prying it out of my Mega ST :oops: . I cracked a tiny SMD resistor and SMD capacitor. It still has some CPU activity but it is not working and won't boot the computer.
I don't know the value of the capacitor - it literally came off in two pieces when I desoldered it.
I looked at my working AdSpeed and the resistor is marked 221, but I can't make out the markings on the cap. If anyone has any knowledge to share for identifying a replacement - I'd be very grateful for assistance.
UNDAMAGED ADSPEED

- IMG_1904.jpeg (311.33 KiB) Viewed 1061 times
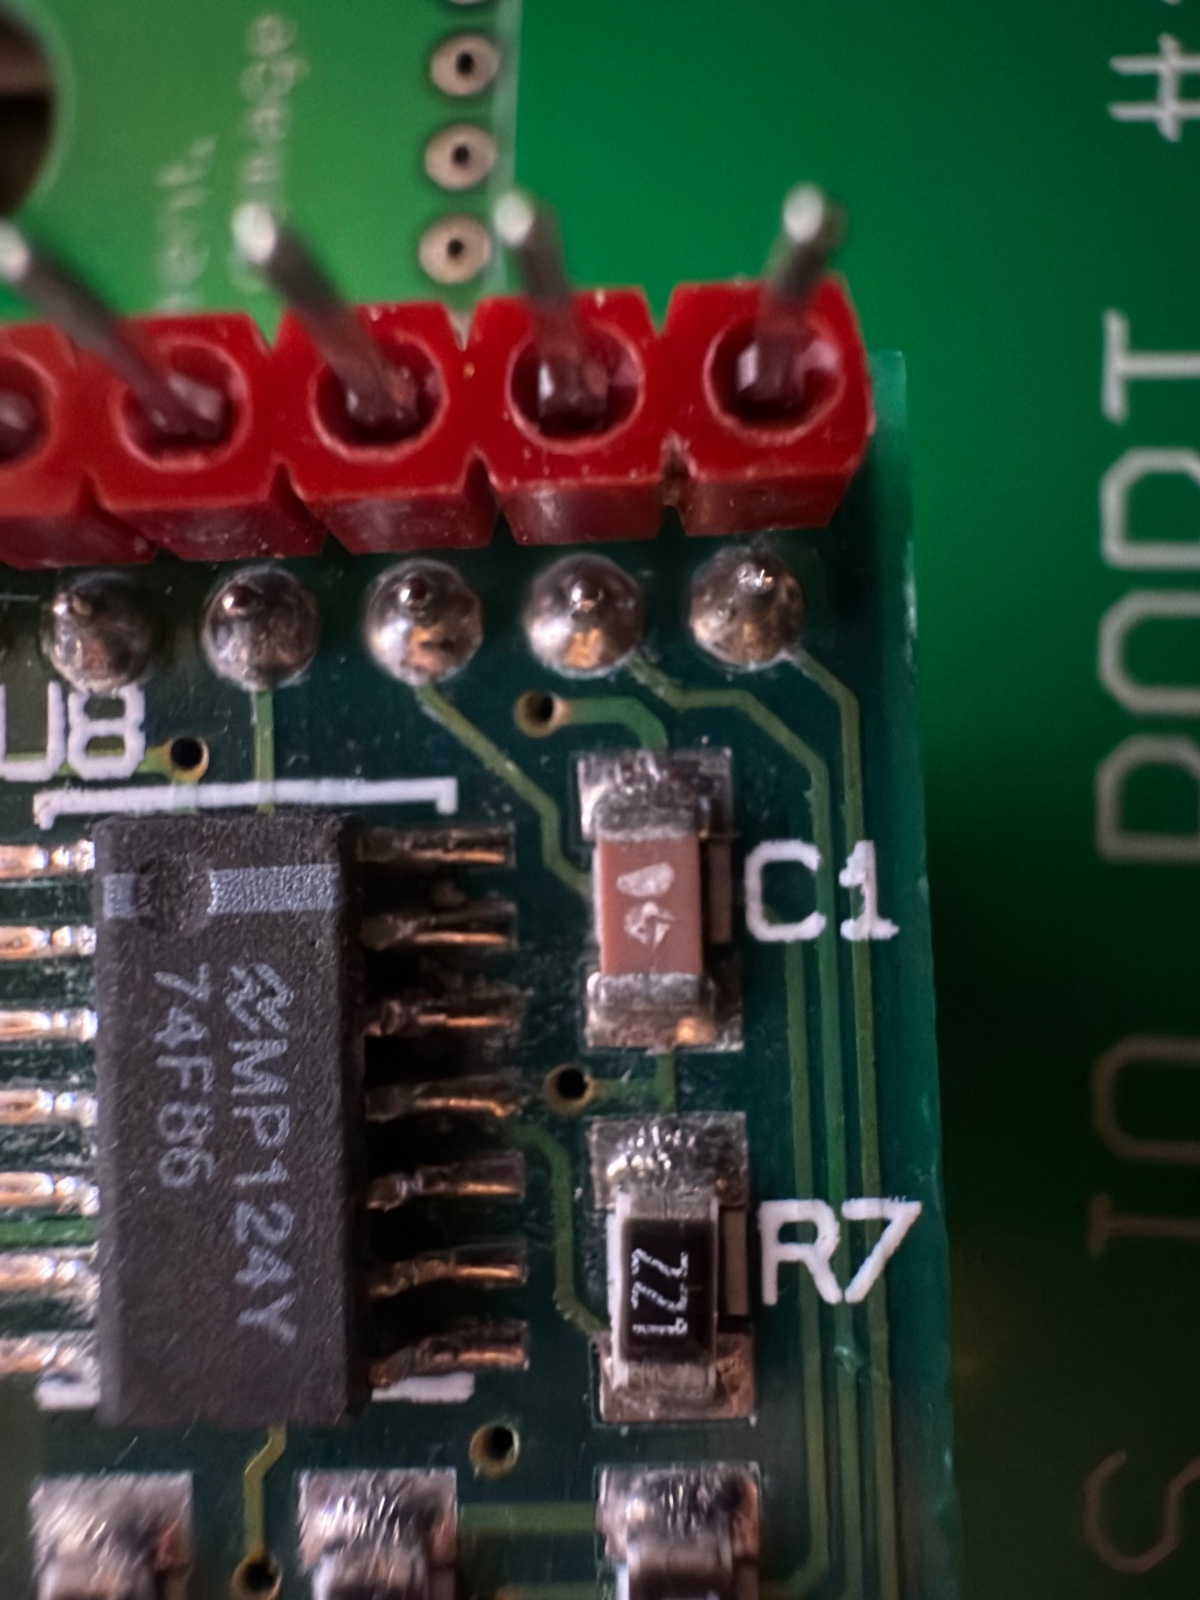
- IMG_2032.jpeg (384.11 KiB) Viewed 1061 times
DAMAGED ADSPEED

- IMG_1899.jpeg (351.82 KiB) Viewed 1061 times
Re: AdSpeed Capacitor ID Help Request
Posted: 14 Aug 2025 08:59
by exxos
You can only really find someone else who has one who can measure the value of the cap. Caps are not normally marked. It looks like yours is just scratched.
Re: AdSpeed Capacitor ID Help Request
Posted: 14 Aug 2025 10:39
by frank.lukas
I have the same card, but I can't measure the capacitor in the circuit. I measure 1.5nF for the capacitor in the circuit, but I don't think that's correct. The resistor is 220 ohms.
The capacitor looks fine, but if there's something wrong, the resistor could be bad, but that can be measured.
The 74F86 is a circuit which generates a clock signal and therefore I suspect the capacitor is in the pico range ...
Re: AdSpeed Capacitor ID Help Request
Posted: 14 Aug 2025 13:28
by Badwolf
You may not like the idea after one has come apart, but if you have the tools to desolder that one, you can probably just pop off the working one and measure it out of circuit.
I don't think your desoldering would have broken the cap and blobbing them off is really straightforward and doesn't really impose stress so would be my go-to approach.
Alternatively get a samples book of caps and keep trying different values until it works! You could even use through hole ceramic disc caps if necessary.
BW
Re: AdSpeed Capacitor ID Help Request
Posted: 15 Aug 2025 01:43
by officer960
Thanks everyone. I probed around the PCB and found R4, marked "102" - 1KΩ is also cracked (and giving wonky readings compared to the undamaged AdSpeed).
DAMAGED ADSPEED

- IMG_2036.jpeg (817.76 KiB) Viewed 991 times
Apparently these are "1206 package components. I'm planning to purchase the following resistors:
R7 220Ω
R4 1kΩ
Still unsure which cap. I have a Fluke 177 multimeter.

- IMG_2034.jpeg (572.39 KiB) Viewed 991 times
Would this be able to measure the capacitor (on the undamaged AdSpeed if I remove it from the PCB) and get me a value?
I think this meter only goes down to microfarads, assuming I need something more precise?

- IMG_2037.jpeg (522.69 KiB) Viewed 984 times
Re: AdSpeed Capacitor ID Help Request
Posted: 15 Aug 2025 08:34
by frank.lukas
Can you push the "Range" botton the go down to pico Farad?
Re: AdSpeed Capacitor ID Help Request
Posted: 15 Aug 2025 09:38
by rubber_jonnie
I'd suggest you replace R3 whilst you're there.
Re: AdSpeed Capacitor ID Help Request
Posted: 15 Aug 2025 16:40
by officer960
frank.lukas wrote: 15 Aug 2025 08:34
Can you push the "Range" botton the go down to pico Farad?
I have the following options in the multimeter's settings:
µF Manual Range 10, 100, 10000
nF Manual Range 1000
I connected a 10pF capacitor to the Multimeter and get "0" on any of the available settings.
Found the manual and it looks like I'm going to need something like an LCR meter or a better Multimeter to get pF?

- Screenshot 2025-08-15 at 10.35.20 AM.png (97.38 KiB) Viewed 944 times
Re: AdSpeed Capacitor ID Help Request
Posted: 15 Aug 2025 16:41
by officer960
rubber_jonnie wrote: 15 Aug 2025 09:38
I'd suggest you replace R3 whilst you're there.
Definitely plan to do that.
Re: AdSpeed Capacitor ID Help Request
Posted: 18 Aug 2025 02:18
by officer960
Received a samples book of capacitors and resistors (thanks for that tip
@Badwolf) and a cheap LCR meter FNIRSI LCR-ST1. The battery wont charge but they did work if plugged in to USB power. :roll:
I removed the capacitor C1 from my undamaged AdSpeed and it measured 100pF -
@frank.lukas's suspicions were correct. After re-installing the cap and verifying my donor AdSpeed was working again, I shifted back to the damaged one.
R4 came off in two pieces just like C1 and R7 had, so it was in deed damaged.
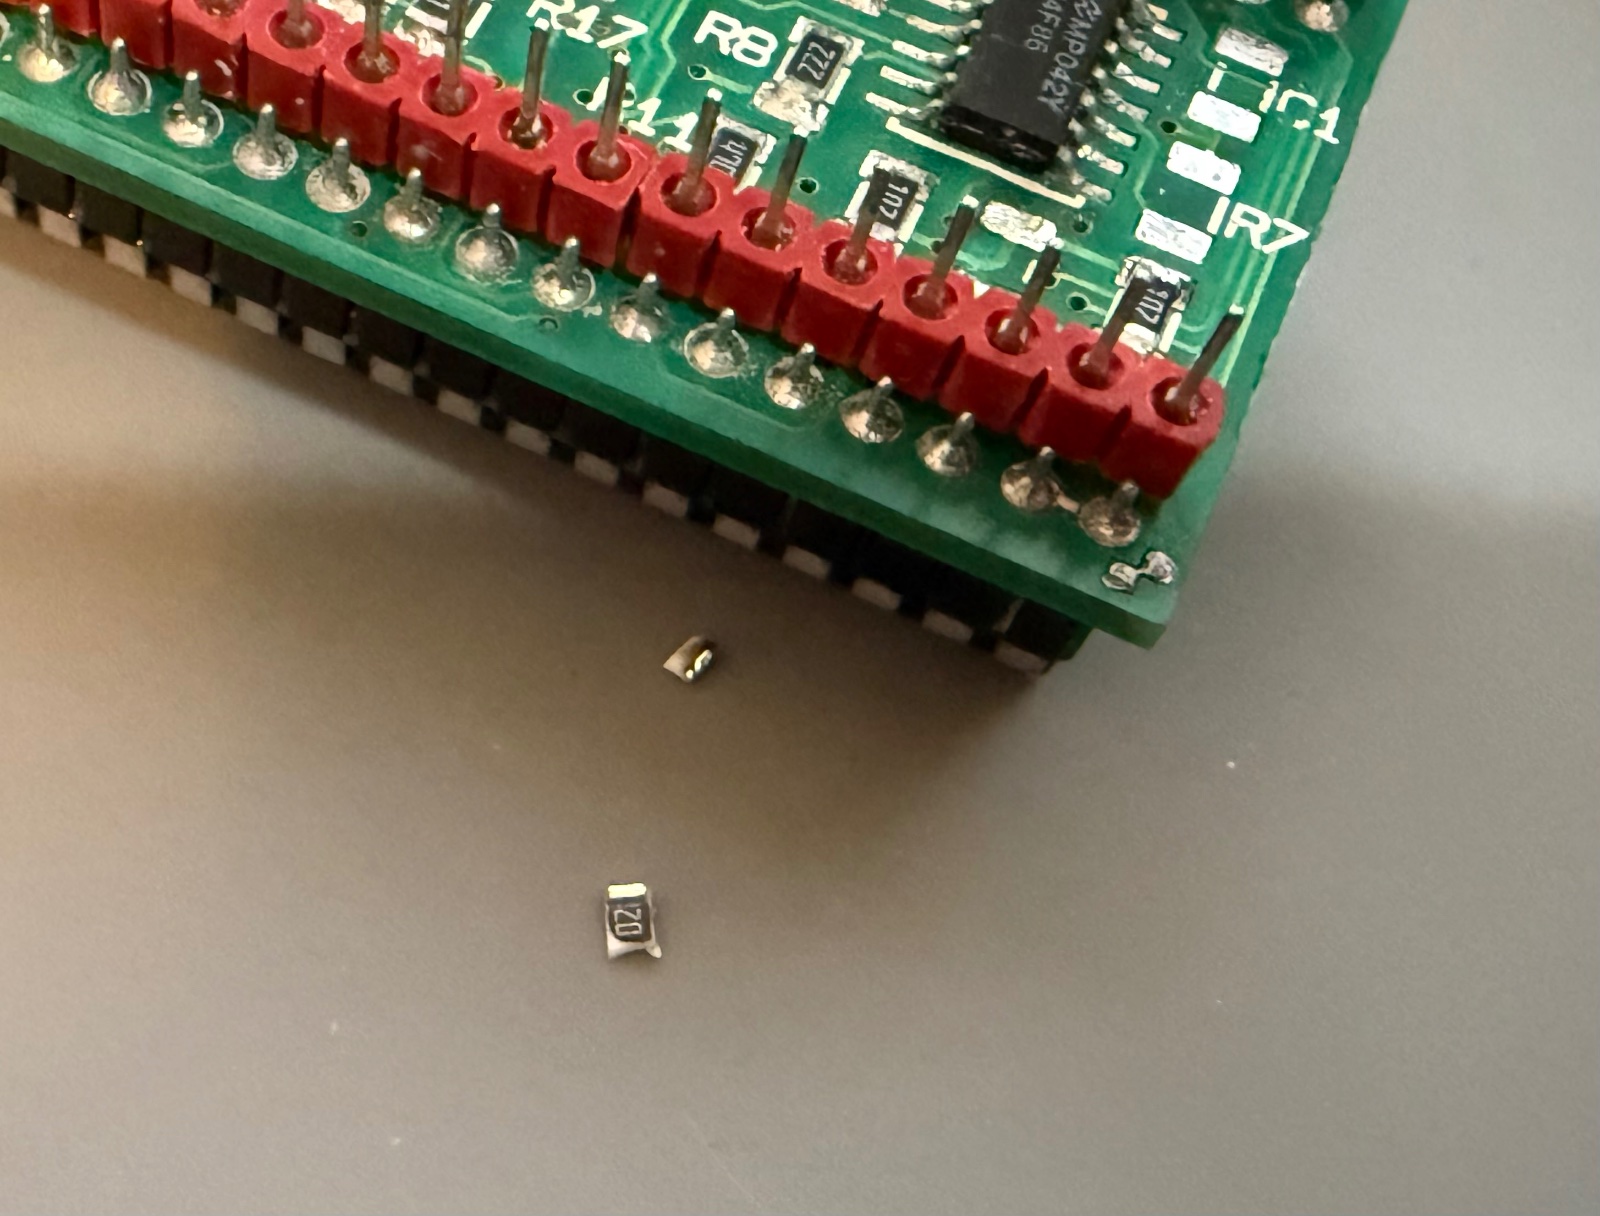
- IMG_2055.jpeg (380.51 KiB) Viewed 909 times
I installed 100pF cap on C1, 220Ω on R7 and 1kΩ on R4. I removed R3 but soldered it back on as under magnification it looked good and also tested fine.

- IMG_2060.jpeg (542.64 KiB) Viewed 909 times
Installed the repaired AdSpeed in a machine and:

- IMG_2058.jpeg (690.43 KiB) Viewed 909 times
Everything seems to be working perfectly. Thanks everyone for the pointers. I have a pointer - if you don't have the "special" socket that came with the AdSpeed to accommodate it's square pins
be very careful using one of these to pry it out.
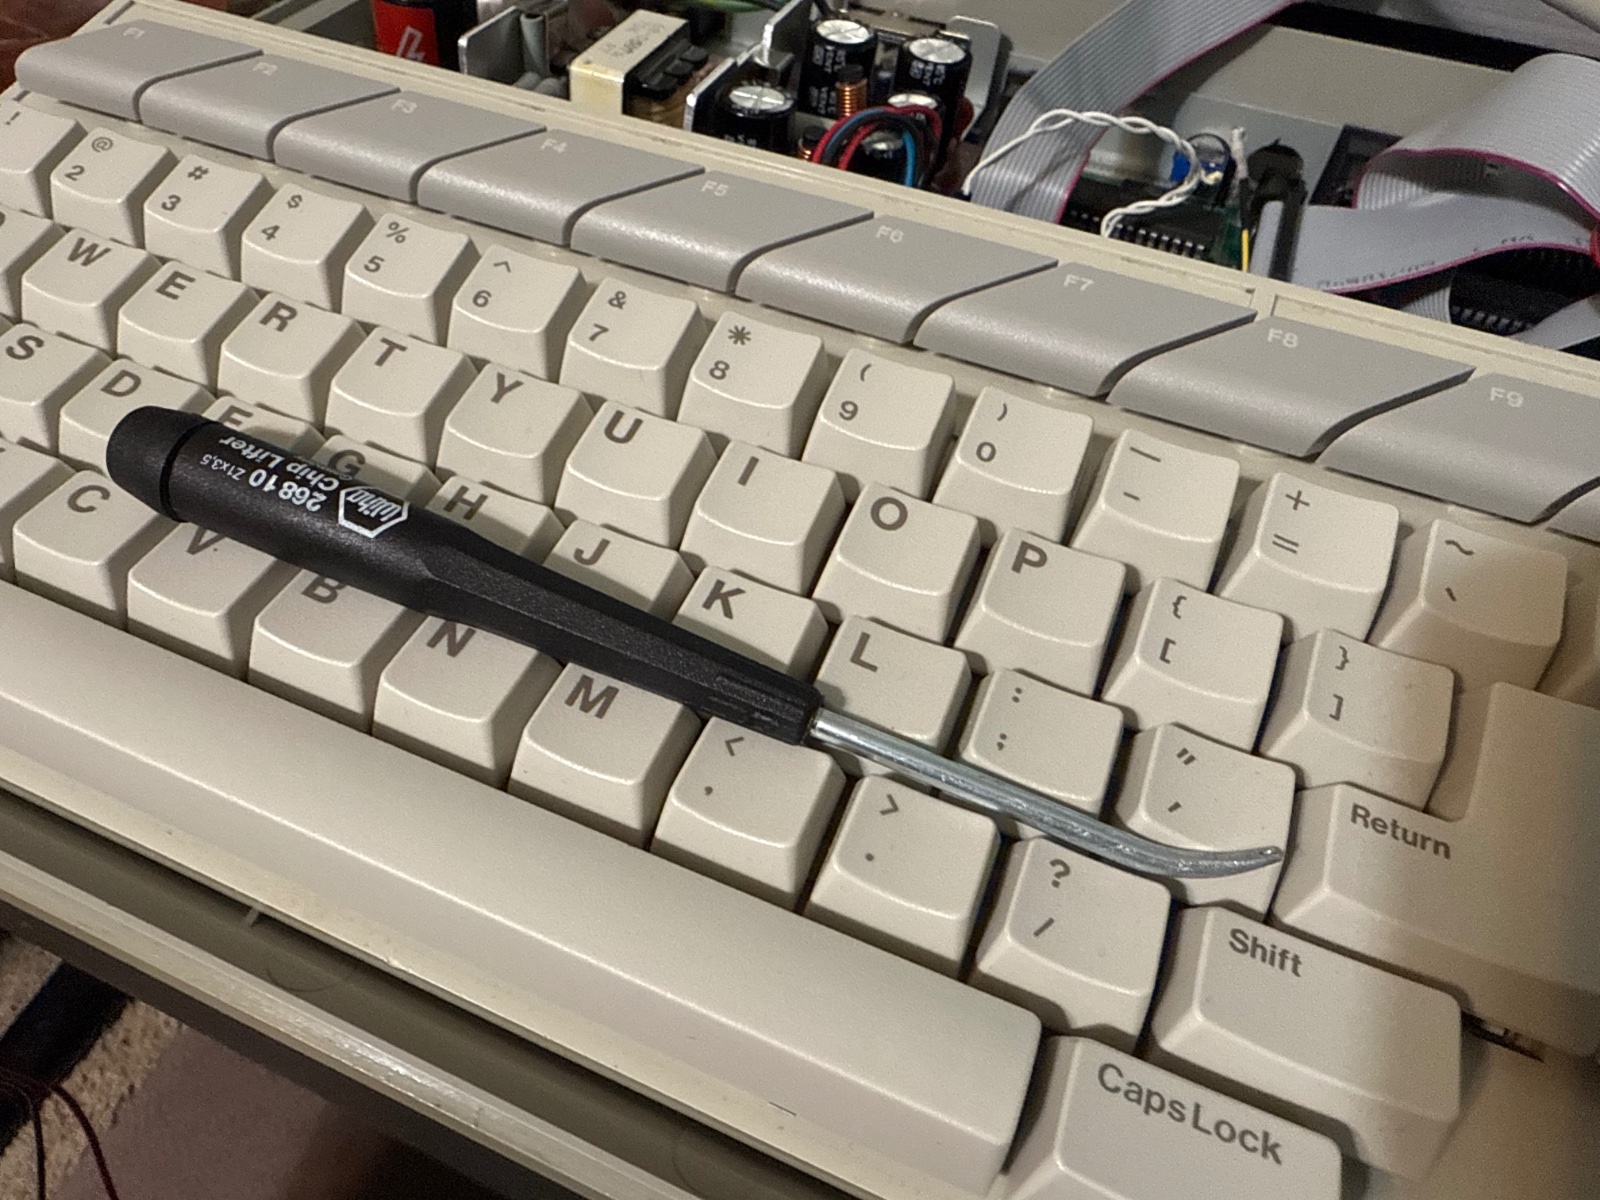
- IMG_2059.jpeg (608.24 KiB) Viewed 909 times
The crunching noise I heard should have been a clue. I'll be adding a sacrificial machine pin socket sandwiched between the motherboard and this AdSpeed from now on.