OK, so the Wonderswan Colour has got its IPS screen installed.
First off was to get the old screen out:

- IMG20240621173212.jpg (250.28 KiB) Viewed 744 times
Once disassembled and the ribbon cable is disconnected, it's really rather trivial to remove, just twist the case gently until the screen pops out.
Dropping the new screen in make sure the ribbon edge goes towards the d-pad end of the device and be sure to get the display pushed all the way to the bottom of the internal display frame as there is a small black border on the bottom of the new display and if you don't do this the line is more visible. This is apparently normal:

- IMG20240621173227.jpg (343.42 KiB) Viewed 744 times
And place the insulating film on the back of the display and the front of the mainboard:
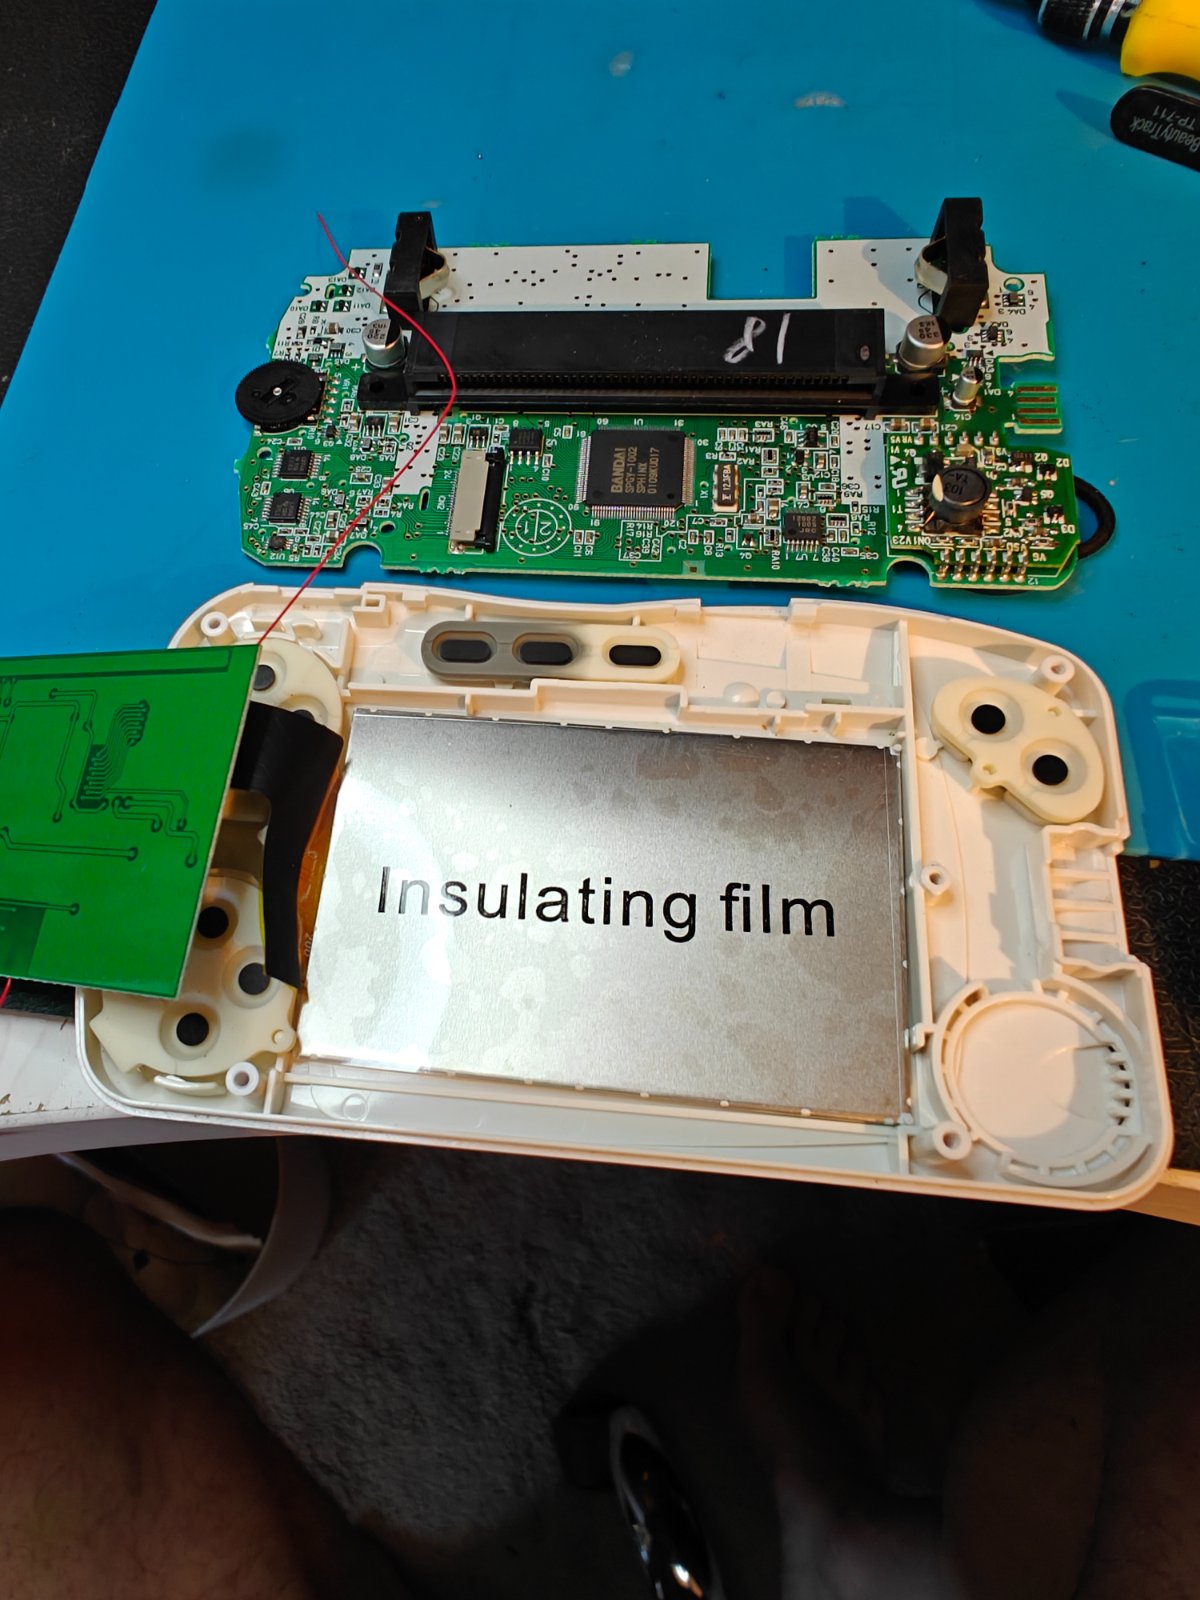
- IMG20240621173216.jpg (244.81 KiB) Viewed 744 times
The next step is optional but I used some super thin 3M double sided tape to stick the PCB to the back of the display:

- IMG20240621173634.jpg (196.98 KiB) Viewed 744 times
It is very easy to get the ribbon cable the wrong way up in the connectors and when that happens, you don't get a picture.
Once the PCB was stuck down I soldered the 2 supplied wires to the positive and negative terminals of the battery on the mainboard and located the two capacitance pads for changing screen colour scheme and brightness:

- IMG20240621175242.jpg (290.99 KiB) Viewed 744 times

- IMG20240621173944.jpg (256.17 KiB) Viewed 744 times
The ribbon cable is a bit long and needs to be folded with about half of it between the mainboard and screen and the other half on top going to the connector on the mainboard. I folded it like this and got a good result:

- IMG20240621175530.jpg (288.69 KiB) Viewed 744 times
And the end result? It looks great!!!

- IMG20240621184015.jpg (240.86 KiB) Viewed 744 times

- IMG20240621184318.jpg (232.42 KiB) Viewed 744 times
There are 9 different colour modes including monochrome and 9 different brightness levels. Overall the 2 IPS kits I used were great and I'd recommend them if you have either a Wonderswan or Wonderswan Colour.